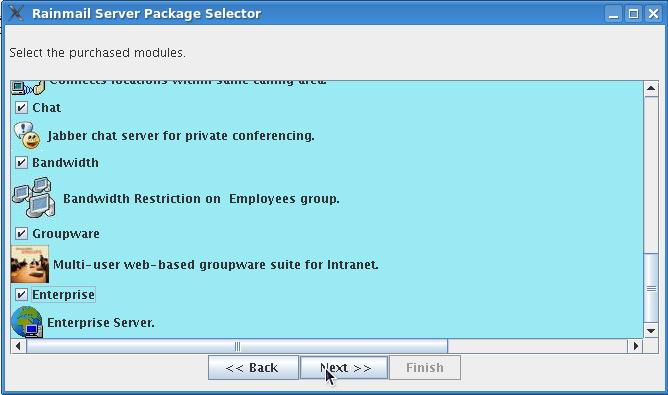
This section gives further installation steps when Email Server is selected as a module with the RIS Standard option.
- We will give instructions from the following screen:
- Click on Next >>. That will bring up the following Window.

- Rainmail supports the idea of Email domains. In here, email addresses have the location indication included in user name (e.g., support.chn@carizen.com). In this case, all email addresses in the Rainmail server will have this suffix by default. This suffix is also used by Rainmail in routing emails to other locations. If you want to implement the same in Rainmail, check Use Location based Email box.
- When Use Location based Email box is checked, the Window displays an additional field as follows:
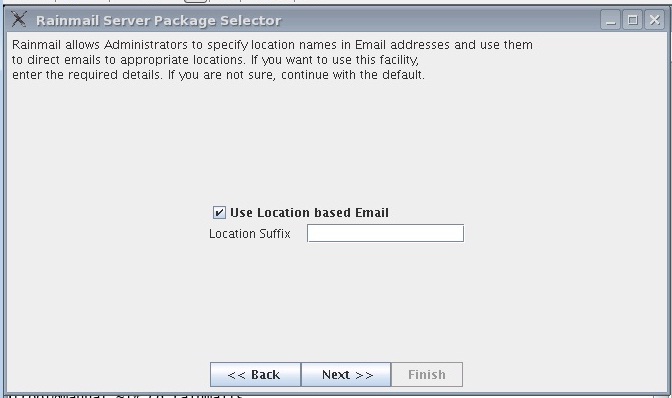
- In Location Suffix field, enter the suffix for email addresses at this location.
- To implement Email server with no such restrictions on Email addresses or if you are not clear on the concept above, leave Use Location based Email box unchecked.
- Click on Next >> button. That will bring up the following dialog.
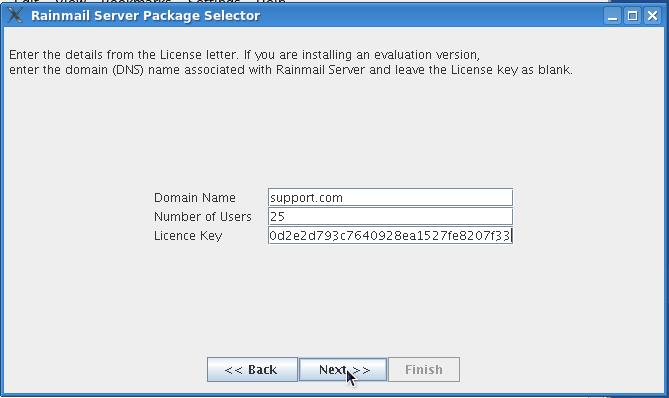
- Enter the license key provided with the letter in License Key edit field.
- Enter domain name for Installation in Domain Name field.
- Enter the number of users for which license was purchased in Number of Users field.
- Rainmail Server can be installed in evaluation mode, but with full set of features for a period of thirty (30) days.
- To install the evaluation version, leave the License key as blank.
- Click on Next >> button.
- If evaluation version is being installed, Rainmail will display the following dialog:
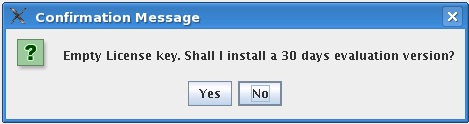
- Click on Yes to proceed.
- If the license key is valid, it will bring up the following screen. If the key is not valid, please check and input again.
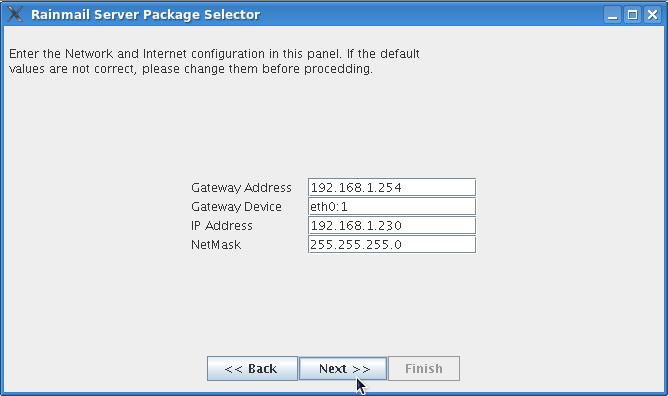
- In the screen, the Internet connectivity details need to be entered. The following table can be used to find what is to be entered:
|
Edit field |
Rainmail deployed as a Node in LAN |
Rainmail deployed in Gateway mode (with single or multiple ISP lines) |
|
Gateway Address |
The internal IP address of your Internet Gateway (Router/Firewall). This will be in same range as the IP address of Rainmail Server. This information will be available with your Network System Administrator. |
This will be the Gateway address of your ISP router. This information will be available from your ISP. If you are having multiple lines, you can set use the value for the Primary line in here. |
|
Gateway Device |
eth0:1 |
eth1 |
|
IP Address |
You should specify another unused IP address in your LAN. |
This is the static IP provided by your ISP. If the ISP has provided multiple Static IP, you can choose any one that is unused and assign the same in here. Details can be obtained from your ISP. If there are multiple ISP lines, this IP should correspond to the line configured in the first row. |
|
NetMask |
Network mask of your LAN |
Network mask provided by your ISP for the assigned Static IP. This can be obtained from your ISP. |
- Once the above details are entered, click on Next >> button. That will bring up the following Window:
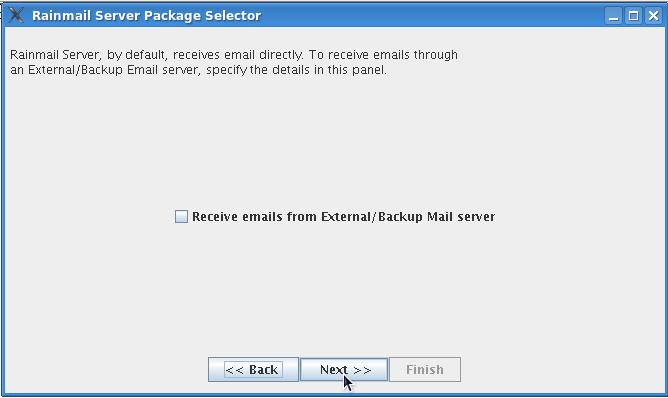
- If you
- Do not have any External/Backup email server, or
- Have a External/backup email server where service provider is giving Individual POP/mail boxes
leave Receive emails from External/Backup Mail Server unchecked and no data needs to be entered.
- If you have purchased backup or External email service from Carizen, follow the instructions in the table below:
|
Sl. No. |
Instructions |
|
1 |
Check Receive emails from External/Backup Mail Server box. That will bring up the following dialog: 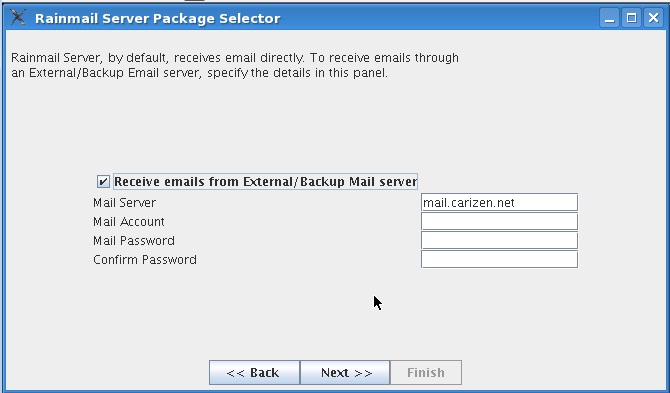 |
|
2 |
If you have purchased Backup or External email service from Carizen, your License letter will contain the following additional details:
- Mail Server IP
- Mail Server Account name
- Mail Server Password
|
|
3 |
Enter the Mail Server IP information from License key letter in Mail Server field. |
|
4 |
Enter the Mail Server Account name information from License key letter in Mail Account field. |
|
5 |
Enter the Mail Server password information from License key letter in Mail Password as well as Confirm Password field. |
- Click on Next >>. That will bring up the following Window:
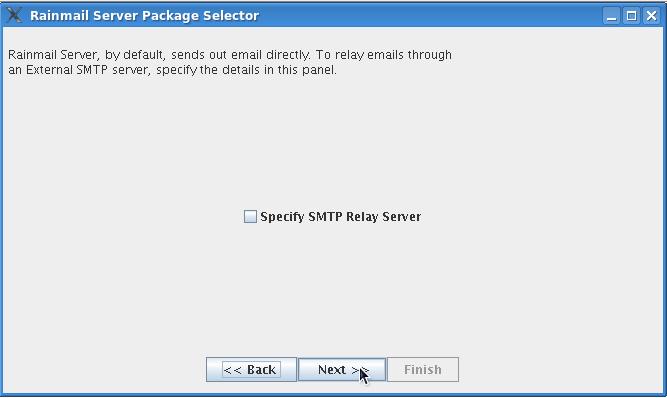
- Rainmail Server can send outgoing emails directly or through an external relay server. The above Window allows administrators to specify how to send outgoing emails.
- If Rainmail Server is
- Deployed as Primary Email Server with no Backup/External email server, or
- You want to send out emails directly,
leave Specify SMTP Relay Server unchecked.
- If
- You have purchased Backup/External email service from Carizen and you want to send out emails through Carizen server, or
- You have purchased Backup/External email service from another provider in terms of Individual POP mail boxes and you want to send out emails through their server,
follow the instructions in the table below:
|
Sl. No. |
Instructions |
|
1 |
Check the Specify SMTP Relay Server box. That will change the dialog as follows: 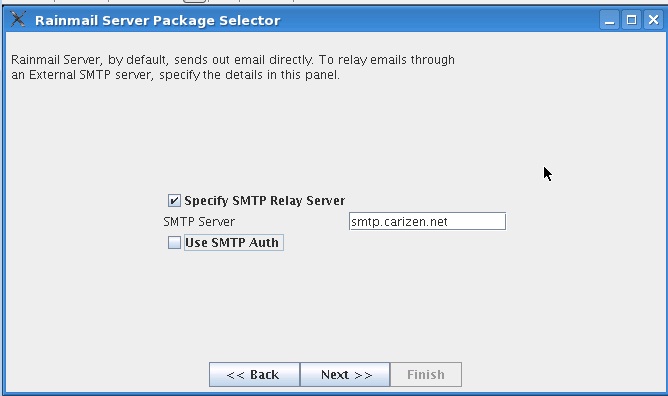 |
|
2 |
Enter the External/Backup mail server IP/Host name in SMTP Server edit field. In case you bought Email service from Carizen, the detail will be in the License letter. Otherwise please contact the Service provider help desk for this information |
|
3 |
Outbound emails, when sent through an email service provider need to be authenticated. Normally, providers (including Carizen) use SMTP Auth to authenticate outgoing emails. In that case, Rainmail needs to be told to use SMTP Auth for outgoing emails. |
|
4 |
Check SMTP Auth box. That will change the dialog as follows: 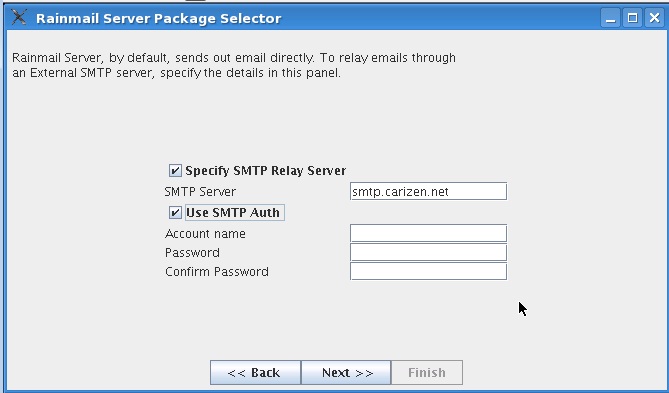 |
|
5 |
- If you have email service from Carizen, License key letter will have the Mail server account name and password.
- If you have Individual POP service from another provider, you can use any one of the email account names/password.
- Enter the email account name in Account name edit field.
- Enter email password in Password as well as Confirm Password fields.
|
- Click on the Next >> button.
- If Enterprise Server has been selected, following dialog will be displayed:
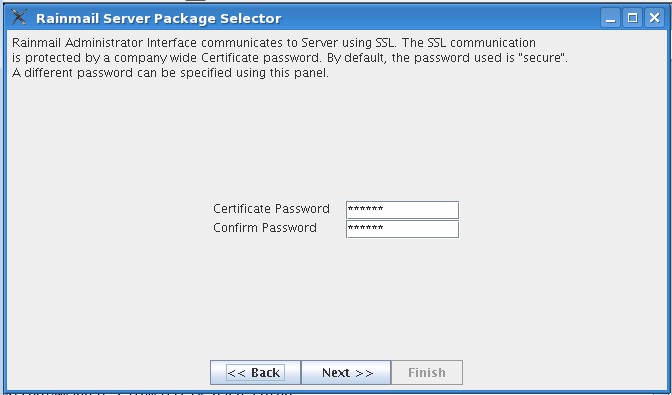
- To specify a new Certificate password, enter the new password in Certificate Password as well as Confirm Password fields. Click on Next >>.
- Installation will start and status will be displayed as follows:

- Once the installation is complete, following dialog will be displayed:
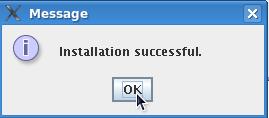
- Click on OK to continue. Rainmail will configure all packages and will display the following Window:
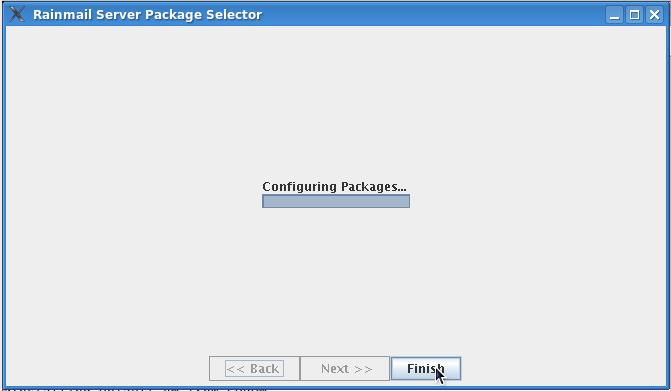
- Click on Finish to continue. That will display the following Window:
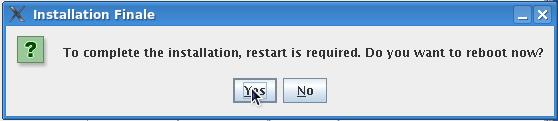
- If you are installing Rainmail on Cent OS 5.10, do the following:
- Click No in the above dialog.
- Open up a terminal using Start -> System -> Terminal menu items.
- Run the post installation script for Cent OS 5.10 as follows:
- cd /root/RIS-R27-cos5.10
- bash icscos5.10_R27_post.sh
- The installation will be completed and server will reboot. After rebooting Rainmail Server is ready for use.
- If you have an External/backup email server and it has been provided using Individual POP mail boxes, you will need to configure downloading of external account into Rainmail for every mail box as follows:
- Open Rainmail Administrator GUI
- Go to Mail System Properties (on left hand side)
- Select Add User POP Account
- For every Email account to which emails has to be downloaded from outside
- Select Email ID
- Specify POP Server, User ID, Password and Confirm Password for Email ID.
- Click on Add button.


