In order to start an A/V conference, a user has to login to Rainmail Web mail home page and invite the participants. The conference invitation is emailed to the participants as a web-link. When the user clicks on the link, the Conference window appears and the meeting is live. Rainmail users can conduct online meetings with people within and outside the organization.
Follow the steps given below to invite a user and start a meeting using Rainmail Conference.
- To access Rainmail Conference:
- Login to Rainmail Webmail using your username and password and load Conference module.
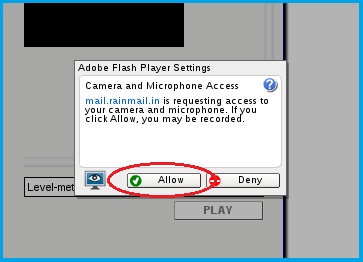
- The following message appears. Click on Allow (indicated by the red oval)
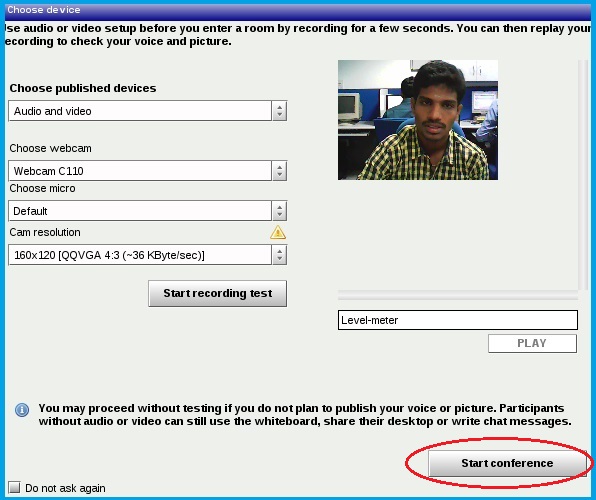
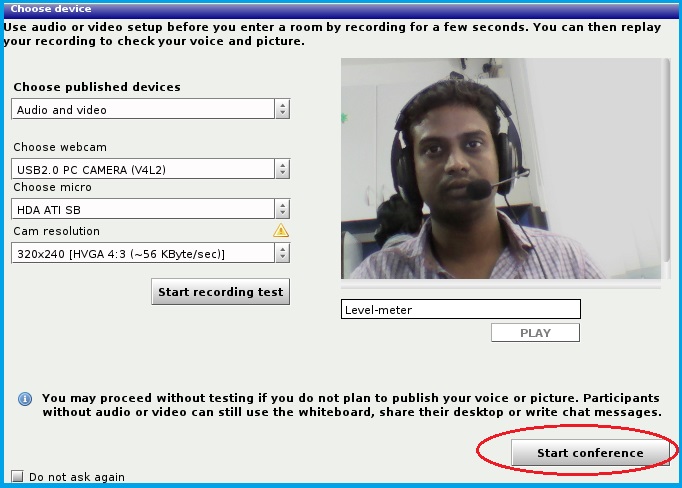
- The Choose Device menu appears. This menu provides options to setup web cam and microphone and also to change the size of video display. Once a convenient setting is achieved, click on Start Conference (indicated by the red oval)
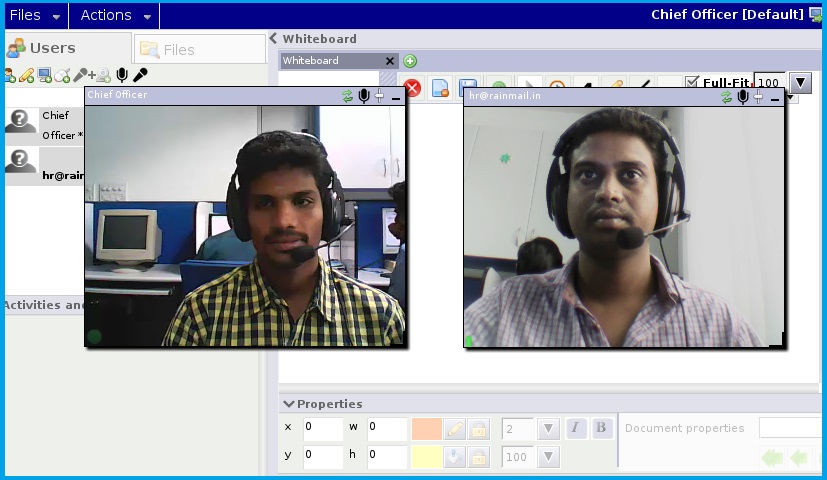
- The Conference screen is loaded. The streaming video can be moved to convenient place on the screen using click and drag action
- To send a Conference invitation:
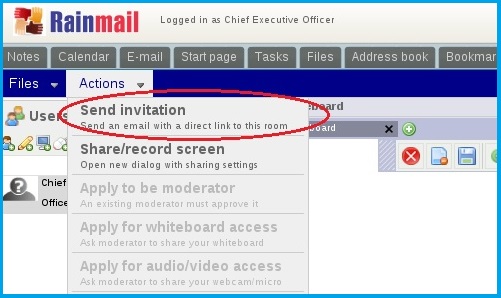
- Click on Actions --> Send invitation (indicated by the red oval)
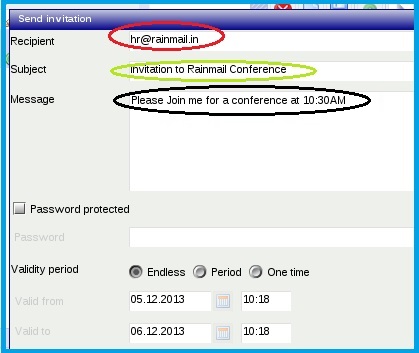
- The Send Invitation dialog appears.
- In the edit box next to Recipient (indicated by the red oval), enter the email address of the recipient. To invite multiple participants, enter email addresses separated by commas.
- In the edit box next to Subject (indicated by the green oval), enter the subject of the conference
- In the edit box next to Message (indicated by the black oval), enter the content of your message
- Click on the drop down box next to Language (indicated by the red oval) and select a language
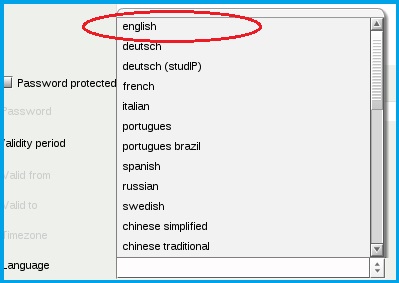
- Click on Send button
- You have successfully sent a conference invitation
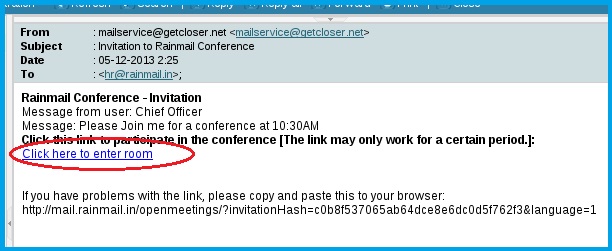
- An email containing a web-link to the conference room is sent to the recipient. When the recipient clicks on the web-link (indicated by the red oval), the Conference screen opens in their browser window
- Once the devices and video resolution settings have been setup as per convenience, click on Start Conference (indicated by the red oval)
- The A/V conference session is live, as can be seen in the image below