Rainmail Server, by default, exposes Global Address book using LDAP. However, if you are using Rainmail Server - Enterprise Edition, Global Address book is also exposed using SyncML. SyncML is more powerful than LDAP and if you have the Rainmail Server - Enterprise Edition, it is recommended that you skip this part and use SyncML to configure Outlook.
The following steps are given for configuring Global Address book (using LDAP) on Microsoft Outlook 2013 running on a Windows 8 Operating System.
- Run Outlook by going to the Search icon on your SideBar and typing outlook. From the search results click on Microsoft Outlook 2013
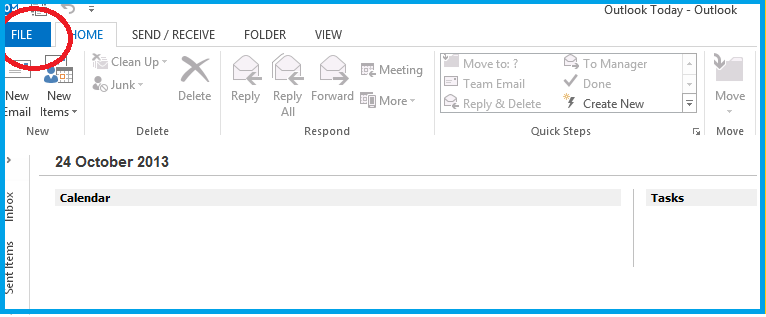
- The following window appears. Click on File (indicated by the red oval)
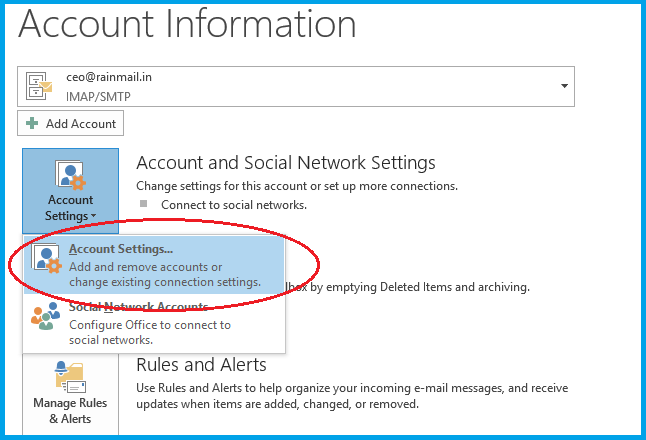
- The Account Information screen appears. Click on Account Settings and select Account Settings from the menu that comes up (indicated by the red oval)
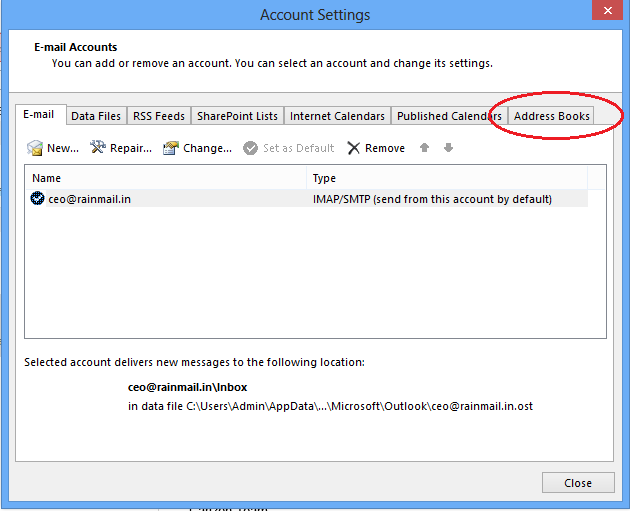
- The Account settings dialog box appears. Click on the Address Books tab (indicated by the red oval)
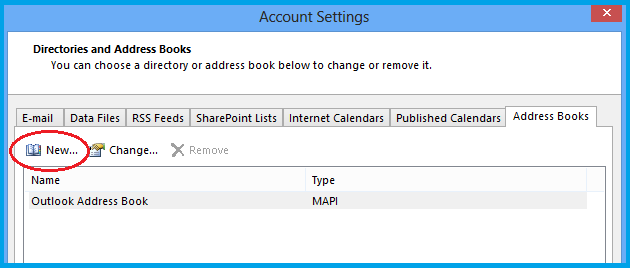
- The following screen appears. Click on New.. button (indicated by the red oval)
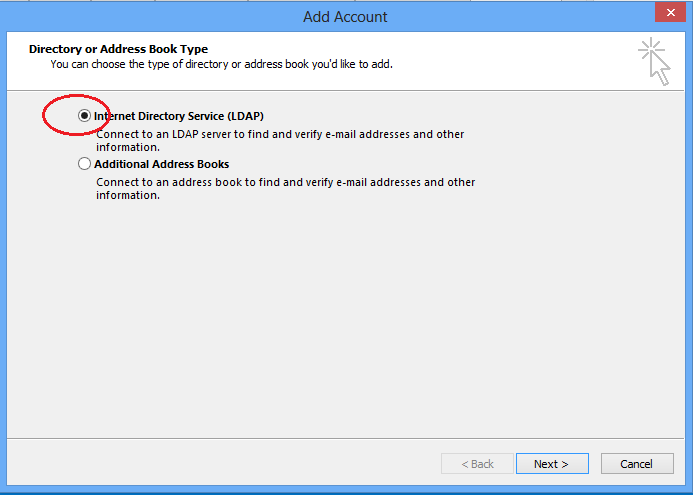
- The Directory or Address Book type dialog appears. Select Internet Directory Service (LDAP) (indicated by the red oval) and click Next >
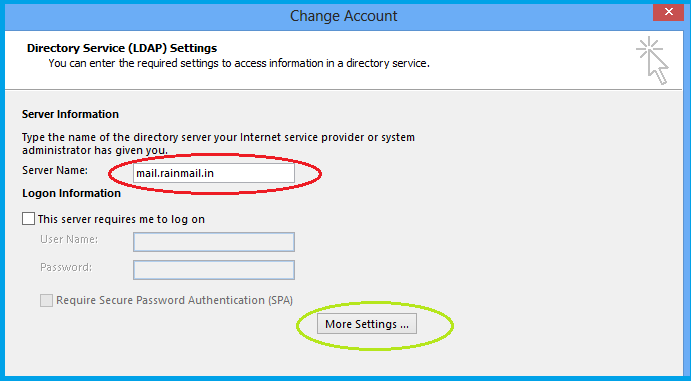
- The Change Account screen appears.
- In the edit box next to Server Name (indicated by the red oval), enter Rainmail Server IP address (or) Host name
- Click on More Settings button (indicated by the green oval)
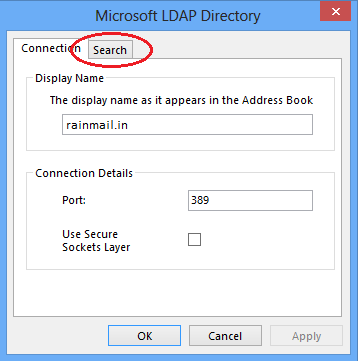
- The Microsoft LDAP Directory dialog pops up. Click on Search tab (indicated by the red oval)
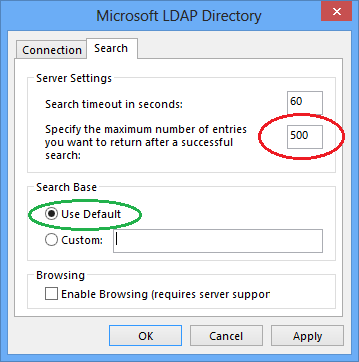
- Under the Search tab,
- Change Specify the maximum number of entries you want to return after a successful search (indicated by the red oval) to 500 or the maximum number allowed in the field
- In Search Base, ensure that Use Default is selected (indicated by the green oval)
- Do not check Enable Browsing (requires server support)
- Click OK to close the dialog
- The old dialog reappears. Click on Next > to proceed. The following page appears
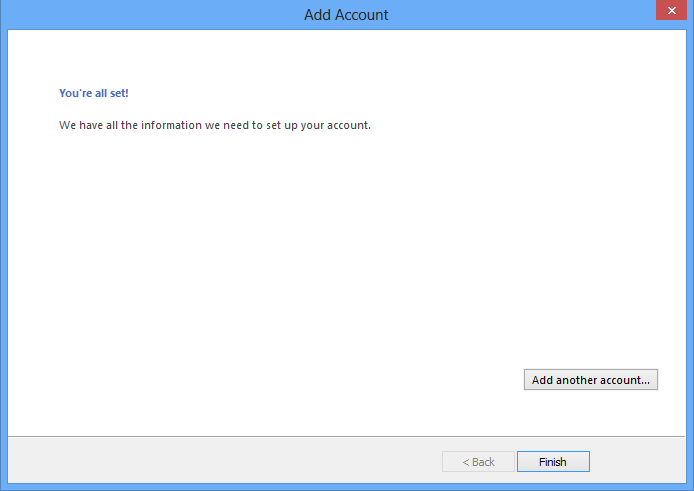
- Click on Finish. Global address book has been successfully configured in Outlook.
- Restart Outlook for the settings to take effect


