Once installed, user has to register the Rainmail account in the chat client before using the facility. User account can be registered in Chat client as follows:
- Run the chat client by double clicking on the Pidgin Desktop icon

- If the Desktop icon does not exist, you can go to Start -> All Programs -> Pidgin and launch the chat client. Once launched, it will bring up the following window.
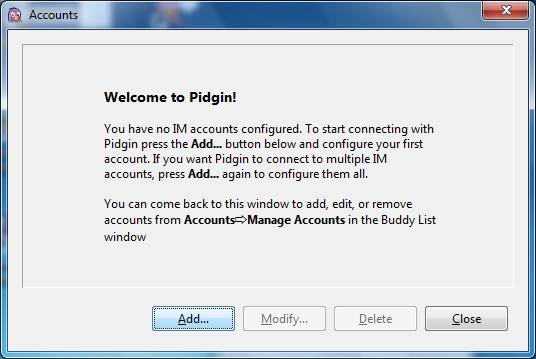
- Click on Add button. That will bring up the following dialog:
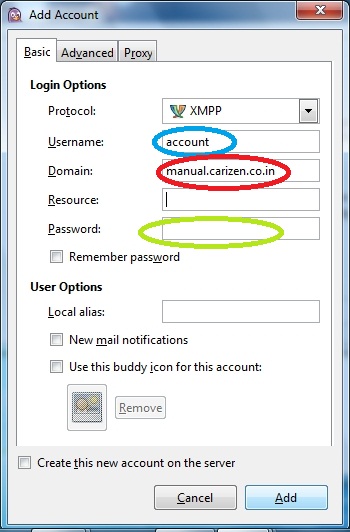
- Select XMPP in the Protocol: field.
- Enter the Rainmail Account name in Username: field (indicated by the blue oval)
- Enter the full host name of Rainmail Server in the Domain: field (indicated by the red oval). The full host name will be of the form demo.carizen.in. This detail can be obtained from your Rainmail Administrator.
- Enter the Rainmail Account password in Password: field.
- Check Remember password box.
- Click on the Advanced tab. That will bring up the following dialog
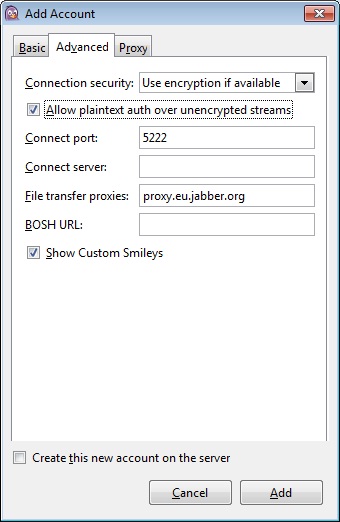
- From the drop down box next to Connection security:, select Use encryption if available.
- Check Allow plaintext auth over unencrypted streams. Click on Add button.
- The configuration is now complete and the system will log you in. Once logged in, the following window will be seen.
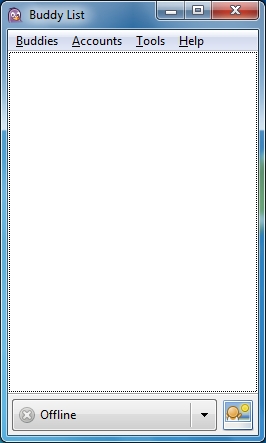
- Users will need to add contacts before being able to Chat/send instant messages.


