In order to configure Rainmail VPN, a user has to download and run the Rainmail VPN Installer application from Rainmail Webmail homepage.
- Note: You will need Administrator privilege on the Desktop/Laptop, to successfully install Rainmail VPN
- Open any web browser and go to your Rainmail Webmail homepage.
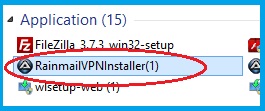
- The Rainmail VPN Installer link will appear under the section Download Links. Click on Rainmail VPN Installer (indicated by the red oval)
- Once downloaded, double click on RainmailVPNInstaller (indicated by the red oval)
- The User Account screen pops up. Type the administrator password for your desktop/laptop and click on Yes
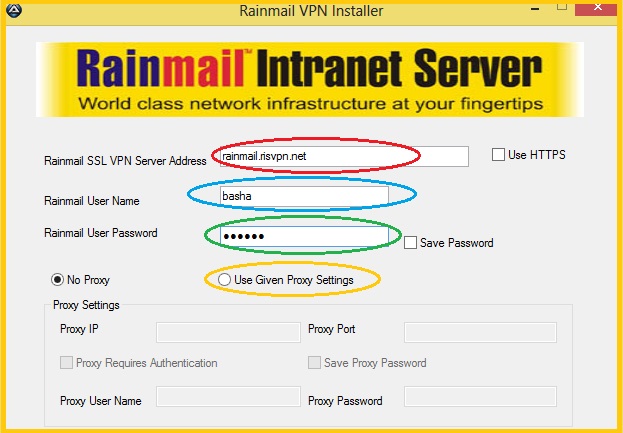
- The Rainmail VPN Installer interface appears.
- In the edit box next to Rainmail SSL VPN Server Address (indicated by the red oval), enter your Rainmail VPN Server name. (eg: rainmail.risvpn.net).
- Use HTTPS: Most users can leave the box unchecked. If your server requires the connection using HTTPS protocol, click on the check box next to Use HTTPS, if you are unsure, contact your System Administrator
- In the edit box next to Rainmail User Name (indicated by the blue oval), enter your Rainmail VPN username
- In the edit box next to Rainmail User Password (indicated by the green oval), enter the corresponding password
- To save the password for future sessions, click on the check box next to Save Password
- Proxy Settings: By default, No proxy is selected.
- If you desktop/laptop connects to the Internet via a proxy, then select Use Given Proxy Settings (indicated by the yellow oval) and enter the IP address and Port number corresponding to your Proxy Server.
- If your Proxy requires authentication, select the corresponding check box and enter the your Proxy Username and Password in the fields provided.
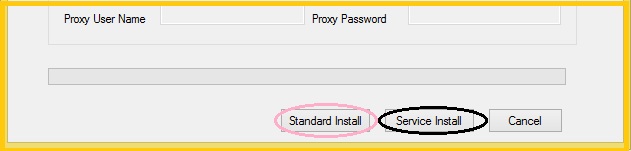
- Rainmail VPN offers 2 types of installations, namely Standard Install and Service Install.
- Standard Install is recommended for users who occasionally connect to their server through Rainmail VPN. When installed, a user can connect/disconnect on an as needed basis.
- In Service Install, the VPN connection to the server is automatically established whenever the user's desktop/laptop is switched on and is connected to the Internet. Service Install is recommended when a user has to stay connected to the server for a long duration. The Service Install button gets activated only when VPN password is entered and Save password option is checked
- Click on Standard Install (indicated by the pink oval) or Service Install (indicated by the black oval), as per requirement.
- The Installation screens appear and on successful completion, the following message pops up.
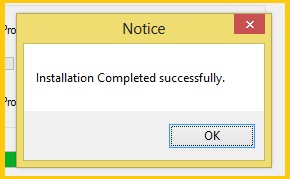
- Click on OK
- A shortcut to OpenVPN GUI (as shown in the image below) is added to your desktop screen
- Your Rainmail VPN installation is complete.
- Note: If you have done a Service Install, it is recommended that you restart your desktop/laptop once installation is complete.


