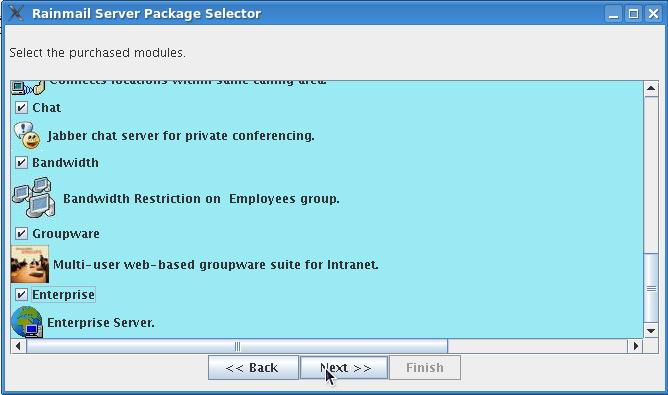
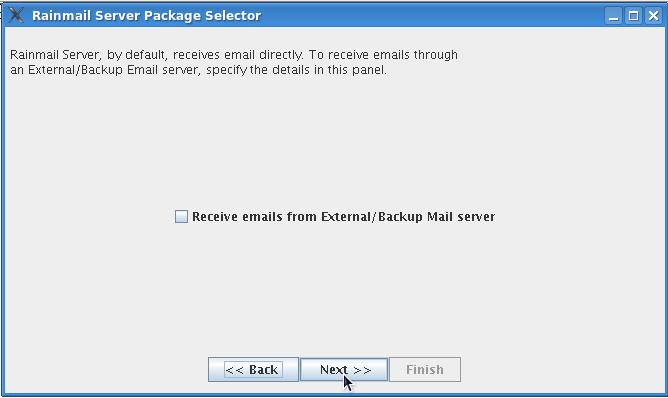
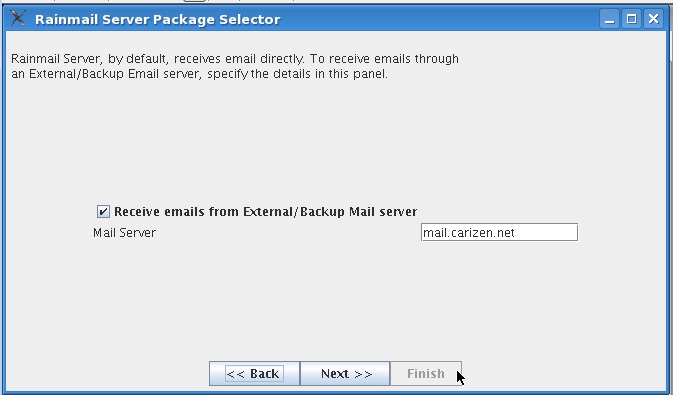
This section gives further installation steps when Email Server is selected as a module with the POP option.

|
Edit field |
Rainmail deployed as a Node in LAN |
Rainmail deployed in Gateway mode (with single or multiple ISP lines) |
|
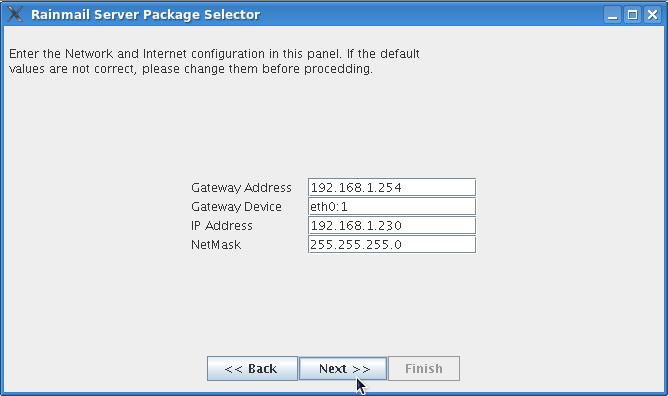
Gateway Address |
The internal IP address of your Internet Gateway (Router/Firewall). This will be in same range as the IP address of Rainmail Server. This information will be available with your Network System Administrator. |
This will be the Gateway address of your ISP router. This information will be available from your ISP. If you are having multiple lines, you can set use the value for the Primary line in here. |
|
Gateway Device |
eth0:1 |
eth1 |
|
IP Address |
You should specify another unused IP address in your LAN. |
This is the static IP provided by your ISP. If the ISP has provided multiple Static IP, you can choose any one that is unused and assign the same in here. Details can be obtained from your ISP. If there are multiple ISP lines, this IP should correspond to the line configured in the first row. |
|
NetMask |
Network mask of your LAN |
Network mask provided by your ISP for the assigned Static IP. This can be obtained from your ISP. |
|
Sl. No. |
Instructions |
|
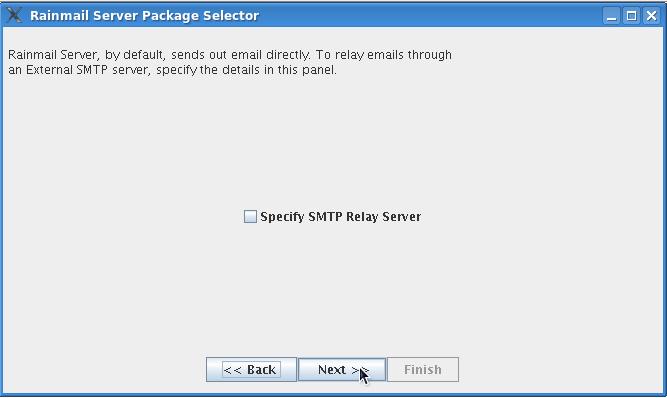
1 |
Check the Specify SMTP Relay Server box. That will change the dialog as follows: 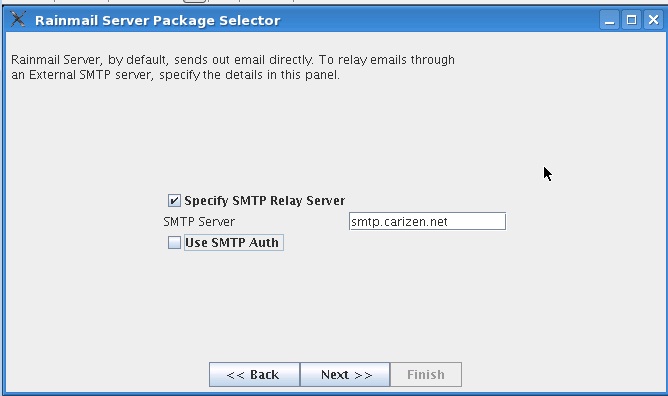 |
|
2 |
Get the following details from your Email service provider
|
|
3 |
Check SMTP Auth box. That will change the dialog as follows: 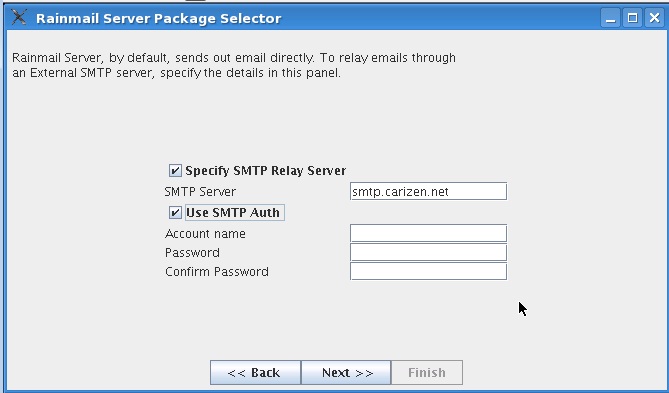 |
|
4 |
Enter the Outgoing Mail Server IP in SMTP Server edit field. |
|
5 |
Enter the email account name in Account name edit field. |
|
6 |
Enter email password in Password as well as Confirm Password fields |

|
Copyright (c) 1999-2014. All rights reserved.
|
|
What do you think about this topic? Send feedback!
|


