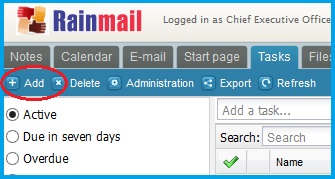
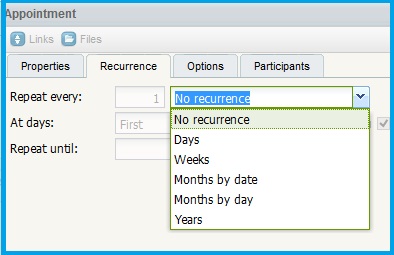
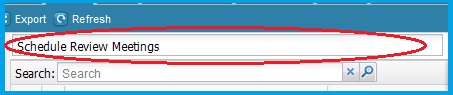
New tasks can be added to a Tasklist in two ways:
|
Sl. No. |
Indicated by |
Parameter |
Detailed Description |
|
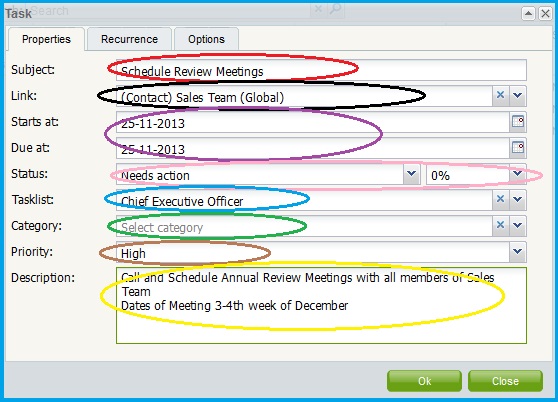
1 |
Red Oval |
Subject |
Enter the subject/name of the task to be added. This is a required field |
|
2 |
Black Oval |
Link |
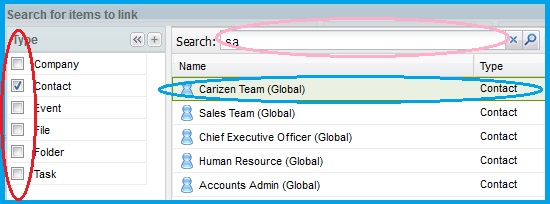
Use this drop down box to provide a link to any relevant Groupware entry, namely, Contact, Company, File, Folder, Event or Task.
|
|
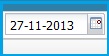
3 |
Purple Oval |
Start at: and Due at: |
Select the Start and Due dates for the task |
|
4 |
Pink Oval |
Status |
|
|
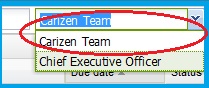
6 |
Blue Oval |
Tasklist |
The drop down box displays the usernames of all the Tasklists the user has access to. Select the username from the list Note: You can add tasks only to the Tasklists to which you have Create, Write or Manage permissions |
|
|
Green oval |
Category |
Users can create custom categories for easy classification of tasks. To create categories, refer to section on Task-Categories. Once created, the category list appears in the drop down box. Click on the drop down box to choose the category under which you want to classify the task. |
|
|
Brown Oval |
Priority |
Use the drop down box to select the priority of the task. Priority can be set as Low, Normal, High |
|
7 |
Yellow Oval |
Description |
Enter the description for the task in the provided text box |
|
Copyright (c) 1999-2014. Carizen Software (P) Ltd. All rights reserved.
|
|
What do you think about this topic? Send feedback!
|


