Rainmail allows users to define multiple sender aliases. Once defined, the user can choose which alias to use while composing and sending emails.
- Login to your account using Rainmail Webmail
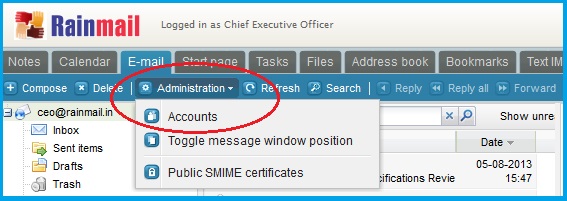
- Under the E-mail tab click on Administration and then select Accounts (indicated by the red oval)
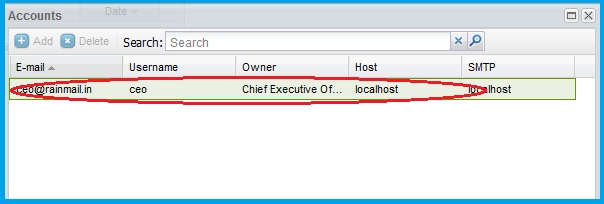
- The Accounts window pops up. Double click on your username (indicated by the red oval)
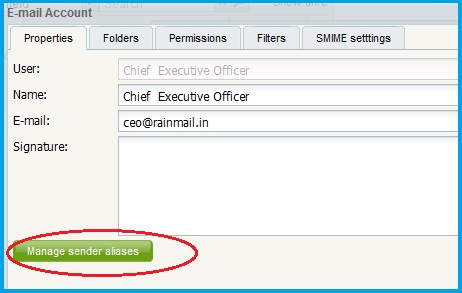
- A new window appears. Under the Properties tab, click on the button called Manage Sender Aliases (indicated by the red oval)
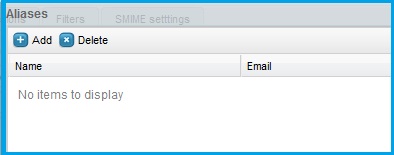
- The following dialog appears. Click on Add
- A new dialog appears. Enter the Name, Email address and Signature corresponding to the alias email address
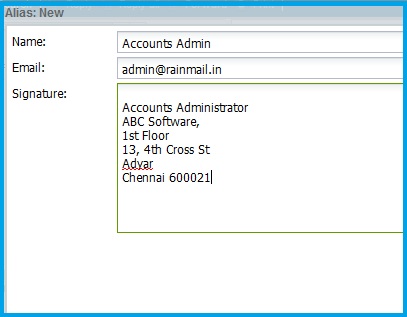
- Press OK to close the dialog
- Click Close
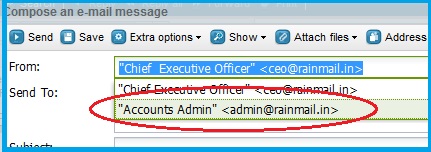
- When composing a new message the alias can be chosen from the From field (indicated by the red oval)