Rainmail Server User Guide
ContentsIndexHome
PreviousUpNext
Schedule an Appointment

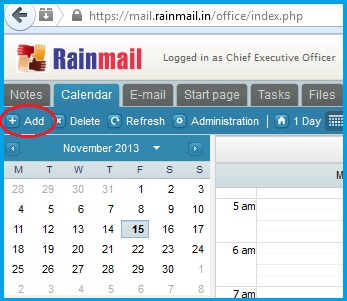
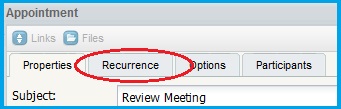
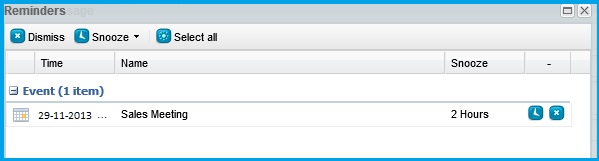
To schedule an appointment/add a Calendar entry:
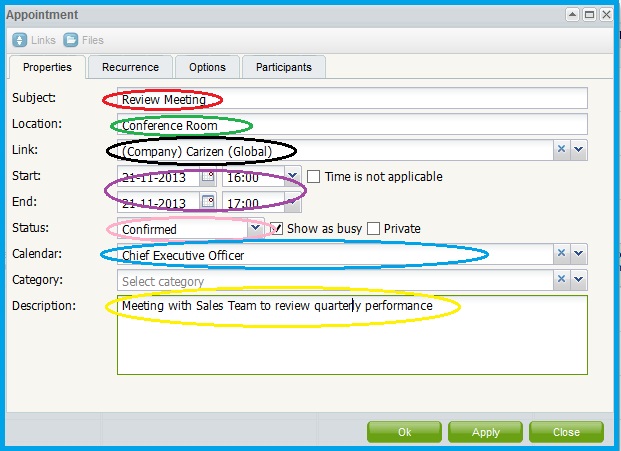
  1. Click on Add (indicated by the red oval)

  1. The Appointment dialog appears

  1. The table below lists the parameters and provides details on the corresponding values to be input

Sl. No. 
Indicated by 
Parameter 
Detailed Description 
Red Oval 
Subject 
Enter the subject/name of the meeting. This is a required field 
Green Oval 
Location 
Enter the location where the meeting/appointment will take place 
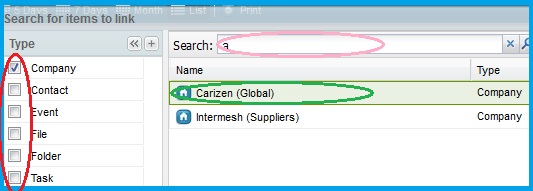
Black Oval 
Link 
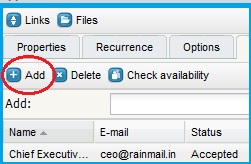
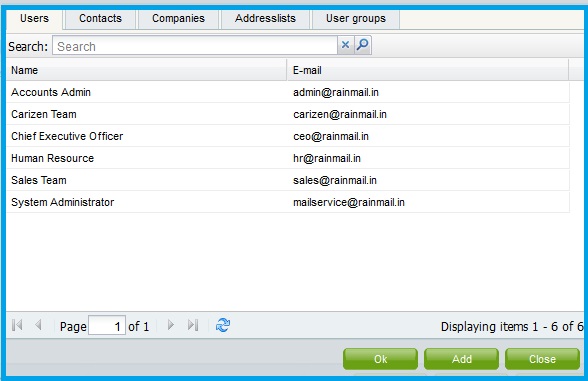
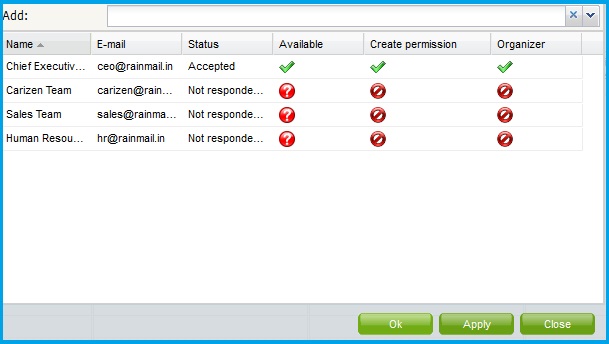
Use this drop down box to provide a link to any relevant Groupware entry, namely, Contact, Company, File, Folder, Event or Task.
To add a link:
  1. Click on the drop down box next to Link
  2. A new dialog pops up
  1. Select the check box corresponding to the type of link (indicated by the red oval)
  2. Click on the edit box next to Search: (indicated by the pink oval) and type the first few characters of the entry
  3. Click on Search icon
  4. The list of relevant entries appear
  5. Click on the entry you want to provide a link to (indicated by the green oval), and press Ok
 
Purple Oval 
Start and End 
Select the Start and End date and time for the event.
If the event is to be scheduled for the whole day, click on the check box adjacent to Time is not applicable 
Pink Oval 
Status 
Click on the drop down box to select the status of the meeting. The status can be set as Needs Action, Confirmed, Tentative or Cancelled
  • Show as Busy: By default, this box is checked
  • Private: Checking the box next to Private displays the current calendar event as Private to other users who have access to view your calendar
 
Blue Oval 
Calendar 
The drop down box displays the usernames of all the Calendars, the user has access to. Select the username from the list 
Yellow Oval 
Description 
Enter the description for the event in the text box provided 

  1. If the event is a recurring event, click on Recurrence tab (indicated by the red oval)

  1. Select the frequency of recurrence from the drop down box

  1. Select the date until which the event has to repeat

  1. Click on Apply
  2. To set a reminder for the event, click on the Options tab (indicated by the red oval)

  1. The following screen appears
    • Input the time when you want the reminder to be sent
    • Select the color to represent the event in the calendar

  1. Click Apply
    • A reminder for the event pops-up at the specified time (as shown in the image below). Click on Dismiss or Snooze button

  1. To invite other participants to the event, click on Participants tab (indicated by the red oval)
  2. The following screen appears

  • Click on Add button (indicated by the red oval)
  • A new window pops up

  • Select each participant from the list and click Add

  • Once completed, click on Ok
  1. The selected users are added to the list of participants

  1. Click Ok to close the dialog
  2. The following pop up appears

  1. Click on Yes to send email to the participants
  2. The scheduled appointment is added to your Calendar

Copyright (c) 1999-2014. Carizen Software (P) Ltd. All rights reserved.
What do you think about this topic? Send feedback!