Rainmail Email allows users to set up email filters. Using this mechanism, user can specify how an incoming email is handled.
Setting up email filters is done in two parts:
- Specifying Rule: The rule is a set of conditions needed to be satisfied for the filter to be effective
- Specifying Action: If the rule is satisfied , then specific action has to be taken on the email
This section explains setting up of an email filter through an example. This filter checks all incoming emails for sender email address. If
sender email address contains
hr@rainmail.in, the email is
redirected to
sales@rainmail.in
On your Rainmail Email page
- Click on Administration --> Accounts (indicated by the red oval)
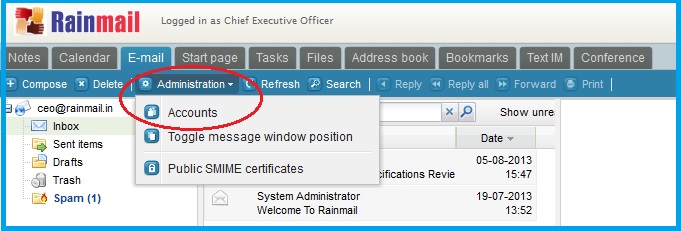
- The Accounts dialog appears. Double click on your username.
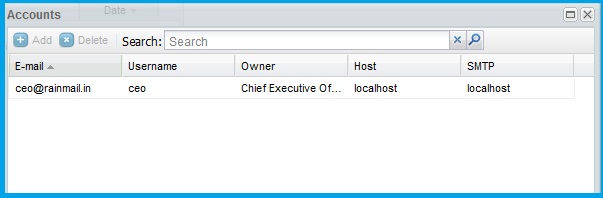
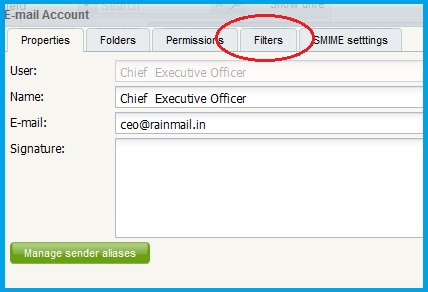
- The following screen appears. Click on Filters tab (indicated by the red oval)
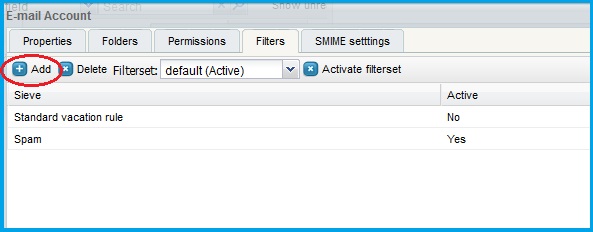
- The following dialog appears. To add a filter, click on Add (indicated by the red oval)
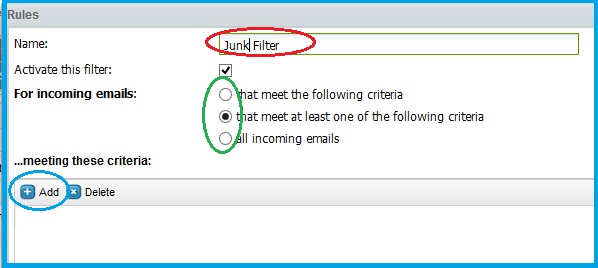
- The Rules dialog appears.
- Click on the edit box next to Name: (indicated by the red oval in the figure below) and specify a name for the filter
- Ensure that the check box next to Activate this filter is checked
- Choose the relevant condition to be met for incoming Emails (indicated by the green oval)
- In the table under ...meeting these criteria: click on Add (indicated by the blue oval)
- The Set criterion dialog appears. The filter rule can be set in three parts.
- Select the Object
- Select the Condition
- Enter the phrase/string.
Use the table below for reference. (In this example, the rule is "If
sender contains
hr@rainmail.in. The
Object is
sender, the
Condition is
contains and the
Phrase/string is
hr@rainmail.in.)
|
Object |
Condition |
Phrase/String |
This list box contains the objects/parameters which should satisfy the rule. Select the applicable Object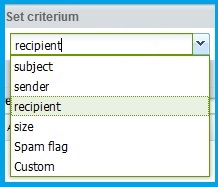 |
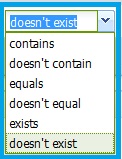
This list box contains the list of conditions which can be applied
- contains/doesn't contain check if the object contains the specified phrase
- equals/doesn't equal checks for an exact match between the object and the phrase
- exists/doesn't exist checks whether the object exists or not. When this option is selected the phrase edit box does not appear
 |
This edit box is used to specify the phrase that has to be matched
- Type the phrase that has to be matched.
In this example, the user has typed hr@rainmail.in |
- Click Ok to close the dialog
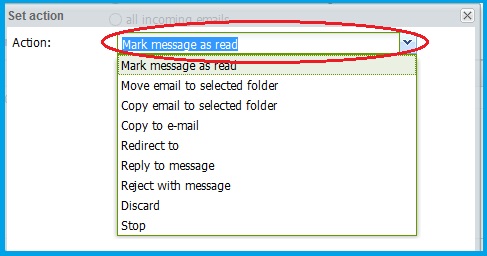
- To specify Action click on Add under ...execute the following actions (indicated by the red oval)
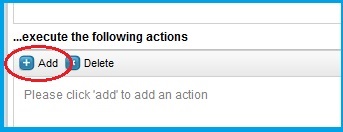
- The Action dialog appears. Click on the list box next to Action (indicated by the red oval) and choose the action to be taken on the email. (In this example the Action is "redirect the emails to sales@rainamil.in", hence redirect to is selected)
- Based on the selected action, an edit box to enter the email address or drop down box containing the list of folders appears. Select a folder or enter an email address as per your requirement. (In this example, when redirect to is selected, an edit box to enter the email address appears and sales@rainmail.in has been entered)

- Click Ok to close the dialog
- Click on Save changes to activate the filter
- You have now successfully specified filter for incoming emails


