|
Name |
Description |
|
|
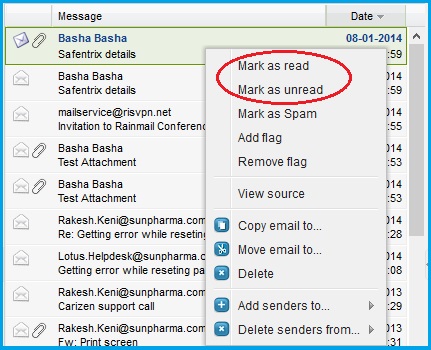
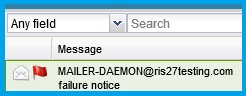
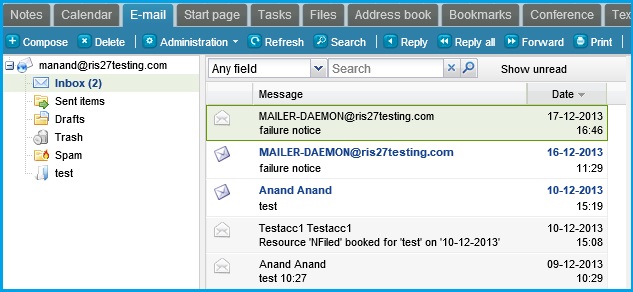
When an email message is opened, the icon indicating its Unread status changes to Read. Users can mark a read email message as Unread and mark an unread message as Read. To Mark as Read / Mark as unread:
- Right click on the email message. To select multiple emails use Shift key and click on the emails.
- From the menu that pops up, select Mark as read or Mark as unread (indicated by the red oval) as per requirement.
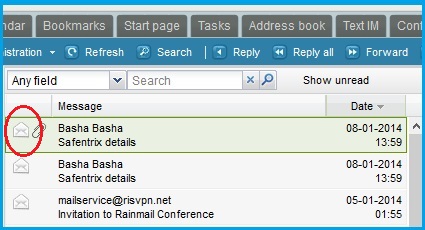
- The Read/Unread icon in the email message reflects the changed status (as shown in the image below)
|
|
|
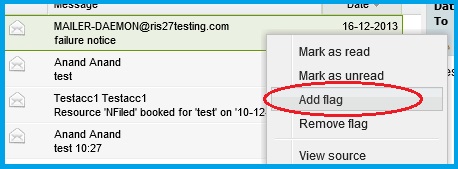
Users can Flag/Unflag email messages contained in any of the folders. Flags are typically used as a reminder to look at the emails again. To Add/Remove a flag:
- Right click on the email message. To select multiple emails, use the Shift / Ctrl key and click on the emails
- The following menu appears.
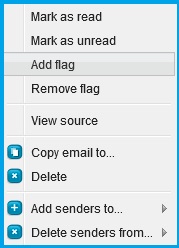
- To add a flag:
- Click on Add Flag (indicated by the red oval)
- The flag icon(s) is/are added to the email message(s)
- To remove a flag:
- Select Remove Flag (indicated by the red oval)
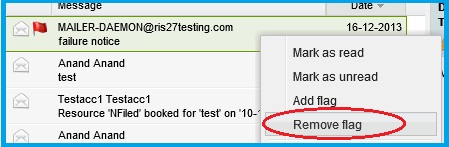
- The flag icon(s) is/are removed from the email message(s)
|
|
|
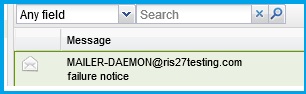
Users can mark an email message contained in a folder as spam. When done, marked email is moved to the Spam folder. To Mark as SPAM:
- Right click on the email message(s). The following menu appears.
- Click on Mark as SPAM (indicated by the red oval)
- The selected email is moved to the SPAM folder (as shown in the image below)

- If the user organization is using
 SAFENTRIX,, in addition to moving to Spam folder, Rainmail Webmail also can send Spam feedback to SAFENTRIX. For details on the same, please see Email Settings SAFENTRIX,, in addition to moving to Spam folder, Rainmail Webmail also can send Spam feedback to SAFENTRIX. For details on the same, please see Email Settings
|
|
|
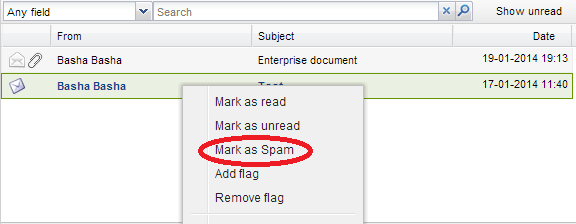
Users can delete email messages from their folders in multiple ways. This section lists some methods.
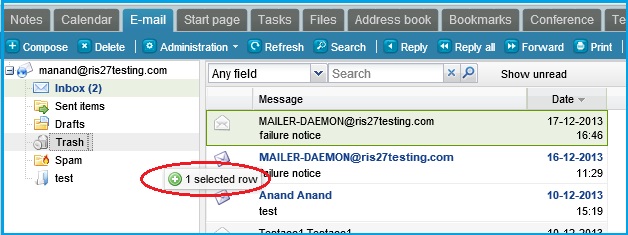
- To delete an email, select the email message (as shown in the image below). To select multiple emails, use the Shift /Ctrl key and select the email messages.
- Using keyboard navigation:
- Click on the Delete key on your keyboard
- Using drag and drop feature to move emails to Trash folder:
- Once the email message(s) is/are selected, drag and drop (as shown by the red oval in the image below) the emails to the Trash folder
- Using the Delete button on Rainmail Email screen:
|
|
|
Rainmail Webmail allows users to see the raw source of Emails. This is typically useful for tracing the origin of emails as well as seeing the headers which are not normally visible. To see the source of Email, follow these instructions:
- Right click on the Email
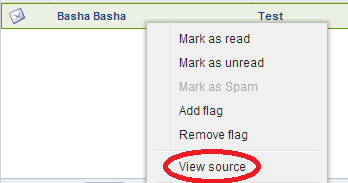
- In the menu that comes up, select View Source (indicated by Red Oval above).
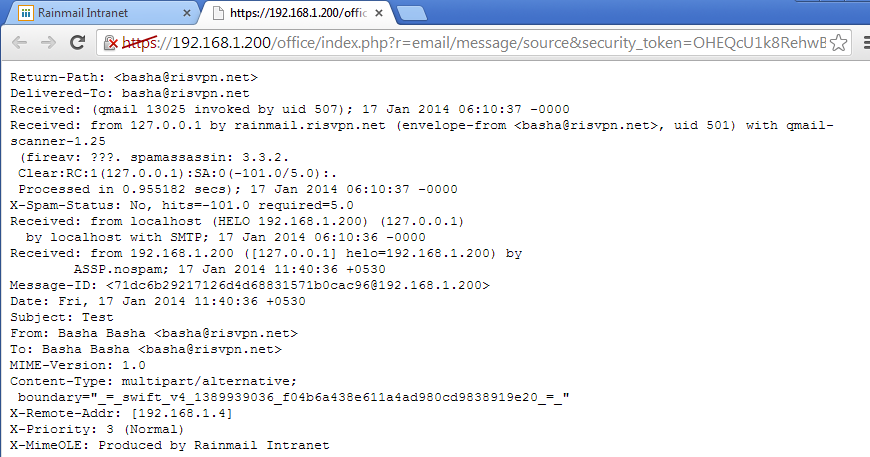
- That will open a new Tab/Window and have text in it. The text is the raw source of email. Sample source is given below:
|
|
|
Email(s) can be copied to a different folder using Rainmail Webmail as follows:
- Select the Email(s) to copy. Multiple emails can be selected by using Shift / Ctrl key while selecting.
- Right click on the selected emails. That will bring up the following menu
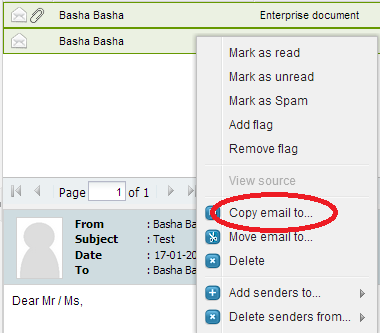
- Click on Copy email to... menu (indicated by Red Oval above). That will bring up the following dialog
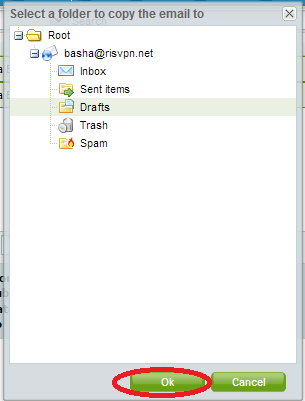
- Select the folder to copy to, from the displayed list of folders. Click on OK.
- The emails will be copied to destination folder.
|
|
|
Email(s) can be moved to a different folder using Rainmail Webmail as follows:
- Select the Email(s) to copy. Multiple emails can be selected by using Shift / Ctrl key while selecting.
- Right click on the selected emails. That will bring up the following menu
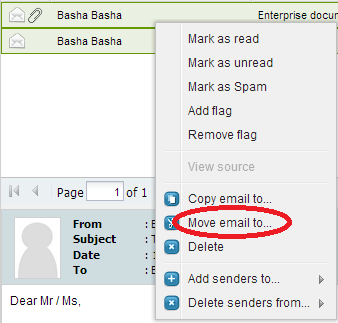
- Click on Move email to... menu (indicated by Red Oval above). That will bring up the following dialog
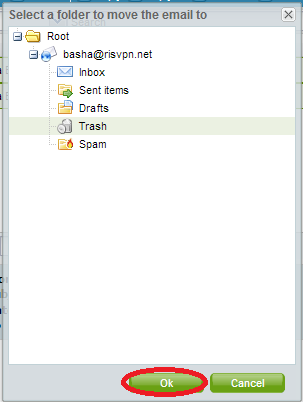
- Select the folder to move to, from the displayed list of folders. Click on OK.
- The emails will be moved to destination folder (and deleted from current folder).
|
|
|
After selecting an email/set of emails, user can do following to the senders of email:
- They can be added to a new message in the To field,
- They can be added to a new message in the Cc field, or
- They can be added to a new message in the Bcc field, or
- They can be added to a specific Address list.
The same is done as follows:
- Select the email(s). Multiple emails can be selected by pressing Shift / Ctrl key during selection.
- Right click on the selected emails and select Add senders to... in the subsequent menu that... more
|
|
|
After selecting an email/set of emails, user can delete the senders of email from a specific Address lists as follows:
- Select the email(s). Multiple emails can be selected by pressing Shift / Ctrl key during selection.
- Right click on the selected emails and select Delete senders from... in the subsequent menu that comes up.
- That will bring up the following menu
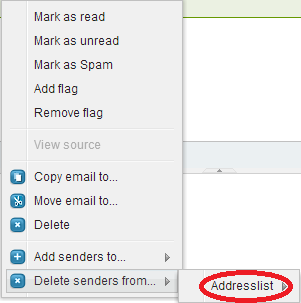
- Select Addresslist (indicated by Red Oval). This will bring up a menu displaying address lists defined by the user.

- User selects the address list from where the sender email addresses must be deleted.
- Once selected, the list of senders... more
|


